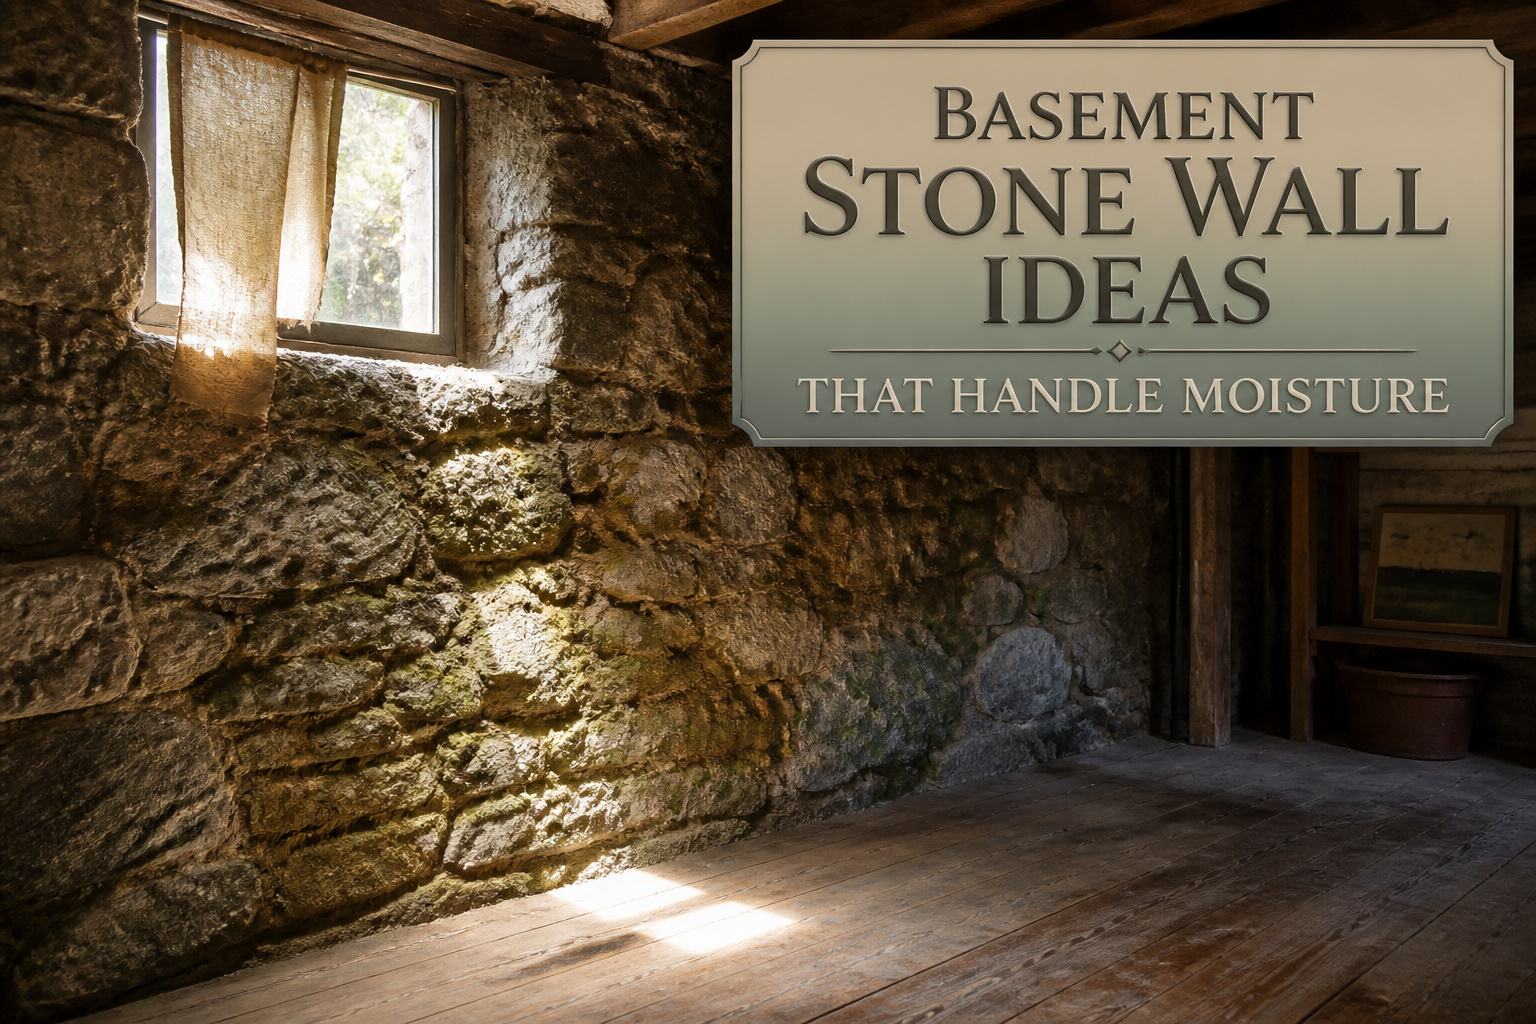
The right basement stone wall idea depends on whether you want to work with the moisture or hide from it entirely. Faux stone panels like GenStone’s Desert Sunrise run $59.99 and install in a weekend, while exposed original stone demands repointing, bracing, and accepting that the wall will still breathe and weep regardless.
1. Faux Stone Accent Walls

Lightweight faux stone panels have come a long way from the plastic-looking versions that dominated big-box stores a decade ago. The Desert Sunrise Faux Stone Panel from GenStone runs $59.99 and carries enough beige base with red and sand tones to read as real stacked stone under basement lighting, which is where most of us are actually evaluating these things. The matching Desert Sunrise Paint Kit at $12.99 helps blend cut edges or touch up scuffs without sending you to three hardware stores for a color match.
Installation is straightforward enough that a single wall becomes a Saturday project rather than a contractor call. The panels go up with standard tools, and the weight stays manageable for one person working alone, which matters in a basement where maneuvering room is often tight. For finishing, the GenStone Caulking Kit at $19.99 paired with Big Stretch White Caulking at $14.99 handles the seams and perimeter gaps. The Big Stretch formula earns its name in below-grade spaces where minor wall movement or humidity swings would crack a rigid caulk line within a season.
Recommended Products

The 3d brick wall panel is made of high-quality PE foam, tasteless, non-toxic, soft and elastic.

3D faux brick wall panels are made of high quality PE foam.Tasteless, non-toxic, formaldehyde free, no release of harmful substances.The surface is waterproof and dustproof, easy to clean.
The 3d brick wall panel is made of high-quality PE foam, tasteless, non-toxic, soft and elastic.
2. Exposed Stone Walls

Exposed stone walls carry the history of a house in a way drywall never will, but that history comes with cracked mortar, decades of dust, and the occasional spider colony you’d rather not disturb. The work starts with picking out loose fill and repointing joints with fresh mortar, a process one old-house owner described as tedious but entirely doable with a weekend and patience. Proper bracing matters more than the mortar recipe: stone foundations shift under load while you work, and without temporary supports in place, you are gambling with shear forces that do not forgive amateur mistakes. Hydraulic jacks from a big-box store are not structural bracing; use rated supports or call someone who owns them.
Cleaning changes the look more than most people expect. A stiff brush and water, no pressure washer, lifts away the grime that makes 1890s stone look like a cave wall. Once the surface reads as intentional rather than neglected, the breathing nature of the wall becomes a feature instead of a flaw. These walls were built to keep out animals and hold up the house, not to create a modern basement experience. They will still wick moisture, still shift slightly with the seasons. Working with that reality, not against it, is what keeps the project from becoming a source of regret.
Recommended Products

Mold size - 8" X 4 1/2" X 1 1/2" (20cm X 12cm X 4cm) approximate Molds made of two-component polyurethane or silicone rubber proved their high quality and durability....
3. Sealing Stone Walls

Stone walls in an old basement need to breathe, and sealing them is where a weekend project can quietly turn into a moisture trap. The wrong product applied to the inside face will block the diffusion path the wall has relied on for decades.
A no wall should have more than one vapor barrier rule of thumb applies here. If exterior waterproofing already exists, an interior coating becomes the second barrier, and the weaker one fails. Moisture then pushes through paint or mortar, taking the finish with it. Semi-permeable options slow diffusion without stopping it entirely, which is usually the safer bet for interior stone.
Outside work comes first when sealing is part of the plan. Excavating to the foundation, adding bracing, and treating the exterior face keeps the breathing direction outward where it belongs. An older approach seen in English stone churches offers another path: a secondary wall placed a foot outside the foundation, with a covered trench between them. That air gap keeps soil contact off the structural wall and lets any interior moisture still diffuse outward on dry days.
Inside, Drylok has held mortar together better than bare stone in some applications, though it will not make a basement feel like above-grade living space. Pressure-treated framing keeps anything wood from wicking upward, and gaps for airflow matter more than a perfect surface finish. The stone will still shift, still weep with temperature swings, still host the occasional spider. The goal is managing what arrives, not sealing it out completely.
Recommended Products
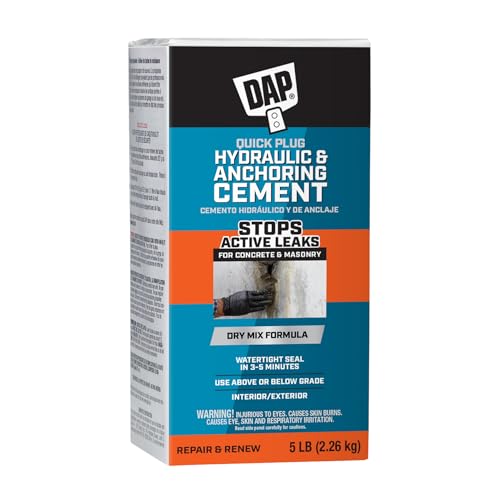
DAP Quick Plug is a versatile product ideal for filling concrete cracks and as a fast setting anchor cement to permanently anchor fence and railing posts, machinery and more into concrete and masonry surfaces

DAP Quick Plug is a versatile product ideal for filling concrete cracks and as a fast setting anchor cement to permanently anchor fence and railing posts, machinery and more into concrete and masonry surfaces

Ready-to-use, concrete patch and repair formula is ideal for repairing horizontal cracks in interior or exterior concrete
4. Decorative Painting

Stone basement walls can absolutely be painted, though the finish you choose matters more than the color itself. Flat or matte latex formulated for masonry handles the slight dampness that seeps through most fieldstone without blistering the way standard wall paint would. I learned that distinction the expensive way after a satin finish peeled in ribbons above the washer.
For color, soft warm grays and taupes work with the natural variation in fieldstone rather than fighting it. A shade like Benjamin Moore’s Revere Pewter, muted enough to let the stone texture read as intentional, reads as finished basement rather than unfinished cave. Deeper charcoal can look striking if the basement gets decent natural light from walk-out windows or window wells; in a fully below-grade space, it tends to swallow what little light exists.
The prep is where most people stall. Wire brushing loose mortar and dusting with a stiff broom takes an afternoon for a typical 20-foot wall, but skipping it guarantees the paint fails within two seasons. A masonry primer costs extra and feels like a delay when you are eager to see color go up, yet two coats of primer on raw stone will save you from repainting in year three. Paint the mortar joints slightly darker than the faces of the stones and the texture pops without any faux-finishing tricks.
Recommended Products

SCS Certified INDOOR ADVANTAGE GOLD

On very porous surfaces like Travertine, use 511 Porous Plus.
WATER & STAIN REPELLENT - This deep penetrating concrete sealer seals pores against rainwater, moisture, dirt & stains - the hydrophobic silane-siloxane sealer protects patios, facades and walkways reliably and long-lasting.
5. Adding Lighting

Stone walls swallow light whole, so planning illumination before you finish anything else saves a basement from cave-like gloom. The texture catches grazing light in ways flat drywall never does, which means the payoff for a little planning is outsized.
Recessed uplights at floor level, tucked behind a low planter or a bench, throw raking shadows up the face of the stone. The effect reads as intentional architecture instead of utility lighting. I have seen people spend twice as much on pendant fixtures that fight the wall instead of working with it.
Warm color temperature matters more down here than anywhere else in the house. Anything over 3000K turns the gray and brown tones in most fieldstone cold and flat. Dimmable fixtures let you pull back when the space needs to feel like a lounge rather than a gallery.
LED strip channels set into mortar joints, running vertically between stones, outline the irregular pattern without adding visible hardware. The strips need IP65 rating or higher in most basements; humidity finds every corner. Battery-powered puck lights stuck on with adhesive fail within a season, so hardwiring pays for itself in avoided ladder work.
Recommended Products

Serviceable and Reliable: the brick wallpaper peel and stick is made of PE foam, no bad smell, reliable and secure to use, soft and textured, anti collision, sound insulation, with smooth and bright surface, simple cleaning and long term service for you

The 3D faux stone wall panel is made of high-quality PE foam, non-toxic, odorless, soft and elastic.

What You Get : Complete set covering 31 square feet, adjust quantity to fit your project . Each panel measures 47.2’’ x 23.6’’ and is easily cuttable for installation
Faux Stone Panels

Faux stone panels make a basement wall into something worth looking at without the structural load of real masonry. The material is cast from natural stone, so the texture and variation read as authentic even up close, and the panels stay light enough that one person can maneuver them into place. That weight difference matters in a basement, where hauling full-thickness stone down narrow stairs turns a weekend project into a multi-week ordeal.
GenStone’s lineup includes finishes like Desert Sunrise, a warm stacked stone that reads particularly well against the cool light most basements get. A customer in their project photos ran it floor-to-ceiling behind a TV wall, and the wall now functions as the room’s anchor instead of an afterthought. The installation is straightforward enough that a few months of evening work gets you from bare drywall to finished focal point, based on the timelines people report.
The panels handle moisture better than actual stone, too, since there is no porous mass behind the surface to wick water inward. You still need to manage humidity in the room itself, but the wall finish will not compound the problem.
Moisture Management

Stone walls in an old basement will breathe and sweat no matter what you do to them. The mortar and chinking between stones is mostly for looks; the wall itself was built to keep out animals and hold up the house, not to act like modern foundation walls. That difference matters because a sealer applied inside can trap moisture that needs somewhere to go.
The rule of thumb that convinced me: no wall should have more than one vapor barrier. If the outside already has one, adding another inside turns the stone into a trapped sponge. Semi-permeable barriers slow diffusion without blocking it entirely, which is the safer play for stone that will always absorb some moisture from wet soil against it.
Airflow is what actually saves these walls. The old English approach of a secondary stone wall a foot outside the foundation, with a covered trench between, works because that open gap lets moisture diffuse outward on dry days. Inside your basement, keeping paths open for air matters just as much. A stone wall sealed into a finished cavity with no ventilation will find the weakest point and push moisture through it, usually where you notice last.
Pressure-treated wood against any concrete or stone surface buys you fifty years instead of five. Anything less rots where you cannot see it until the repair is major.
Recommended Products

PROFESSIONAL CRACK REPAIR WITH SELF-LEVELING FORMULA - Ready-to-use liquid cement requires zero mixing. Squeeze directly into driveways, garage floors, or patio cracks. The YKF sealant automatically flows and levels itself, while the included brush allows you to blend edges for a professional, invisible finish.
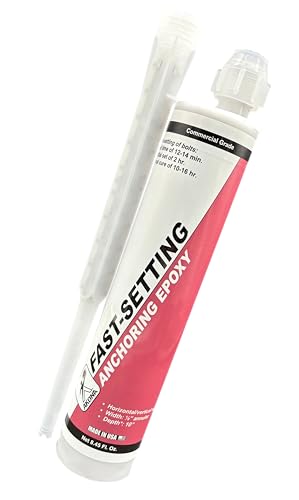
CONCRETE ANCHOR EPOXY: High-strength, moisture tolerant, resists chemicals and solvents

The information below is per-pack only
Aesthetic Improvements

Cleaning the stone comes first, and the work is more tedious than difficult. Loose fill gets picked or brushed out, then fresh mortar replaces what has crumbled, a process one old-house crew compared to chinking rather than true masonry. The new mortar is mostly for looks; the wall will still breathe and sweat regardless.
Drylock paint over that repaired mortar does two jobs at once. It adds a uniform color and holds the mortar together better than bare repair alone, which matters in a space where dust and cobwebs are the default decor. The finish reads as intentional rather than abandoned.
A secondary stone wall built a foot outside the foundation, with a covered trench between, is the old English church approach. It creates a permanent air gap so moisture cannot diffuse through from the soil, yet the structural wall still dries outward on dry days. That is a heavy project, but it changes the aesthetic from fighting the damp to working with it.
What reads as gothic charm to some will read as unfinished basement to others. The honest look is cracked mortar, mineral stains, maybe a squirrel mummy in the corner. Painting or repointing does not change that it will never feel like upstairs. The judgment call is whether you want the stone to look maintained or hidden entirely.
Recommended Products

SCS Certified INDOOR ADVANTAGE GOLD

WATER & STAIN REPELLENT - This deep penetrating concrete sealer seals pores against rainwater, moisture, dirt & stains - the hydrophobic silane-siloxane sealer protects patios, facades and walkways reliably and long-lasting.

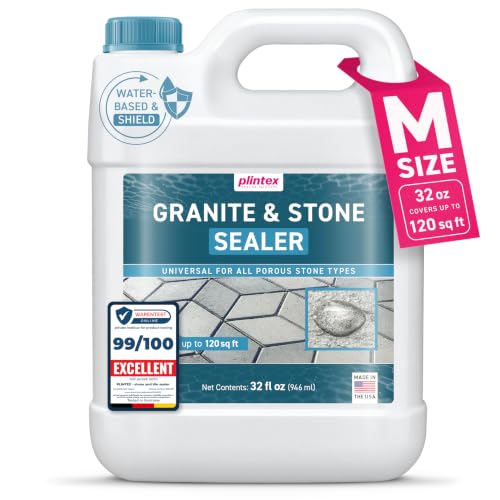
PENETRATING STONE SEALER: All-purpose natural stone sealer that provides an impenetrable barrier from moisture and saltwater erosion. High-performance water-based penetrating sealer creates a strong, invisible barrier against water, spills, and moisture intrusion—helping prevent staining, cracking, pitting and long-term damage for both indoor and outdoor spaces.
Frequently Asked Questions
Recommended Products
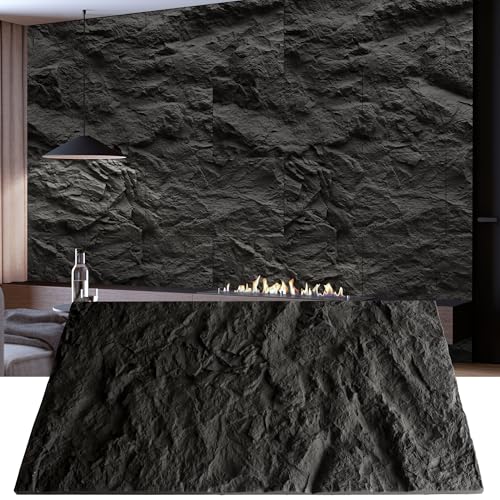
Immersive 3D Depth & Realistic Texture: Transform your space with dramatic cement-like texture and deep dimensional relief. Our panels create captivating focal walls in living rooms, bedrooms, offices, or entertainment areas—instantly elevating any interior with modern character

What You Get : Complete set covering 31 square feet, adjust quantity to fit your project . Each panel measures 47.2’’ x 23.6’’ and is easily cuttable for installation

3D faux brick wall panels are made of high quality PE foam.Tasteless, non-toxic, formaldehyde free, no release of harmful substances.The surface is waterproof and dustproof, easy to clean.
What are some ideas for basement stone walls?
Faux stone accent walls, exposed natural stone, decorative painting, and strategic lighting all work well. Faux stone panels like GenStone’s Desert Sunrise run about $59.99 and install light enough for one person to handle in tight basement spaces. Exposed stone with repointed mortar and proper cleaning preserves the wall’s history while making it look intentional rather than neglected.
How do I manage moisture in my stone basement walls?
Keep to one vapor barrier total, not one on each side. If exterior waterproofing exists, stick with semi-permeable interior options that slow diffusion without trapping moisture. Airflow matters more than perfect sealing: pressure-treated wood framing, open gaps for air movement, and the old English approach of a secondary exterior wall with a covered trench gap all let the stone breathe outward on dry days.
Can I paint my stone basement walls?
Yes, with flat or matte latex formulated for masonry, not standard wall paint. Benjamin Moore’s Revere Pewter is one shade that reads as finished basement rather than cave, working with natural fieldstone variation. Two coats of primer on raw stone prevents the repainting job you’ll face by year three if you skip it; wire brush loose mortar first or the finish fails within two seasons.