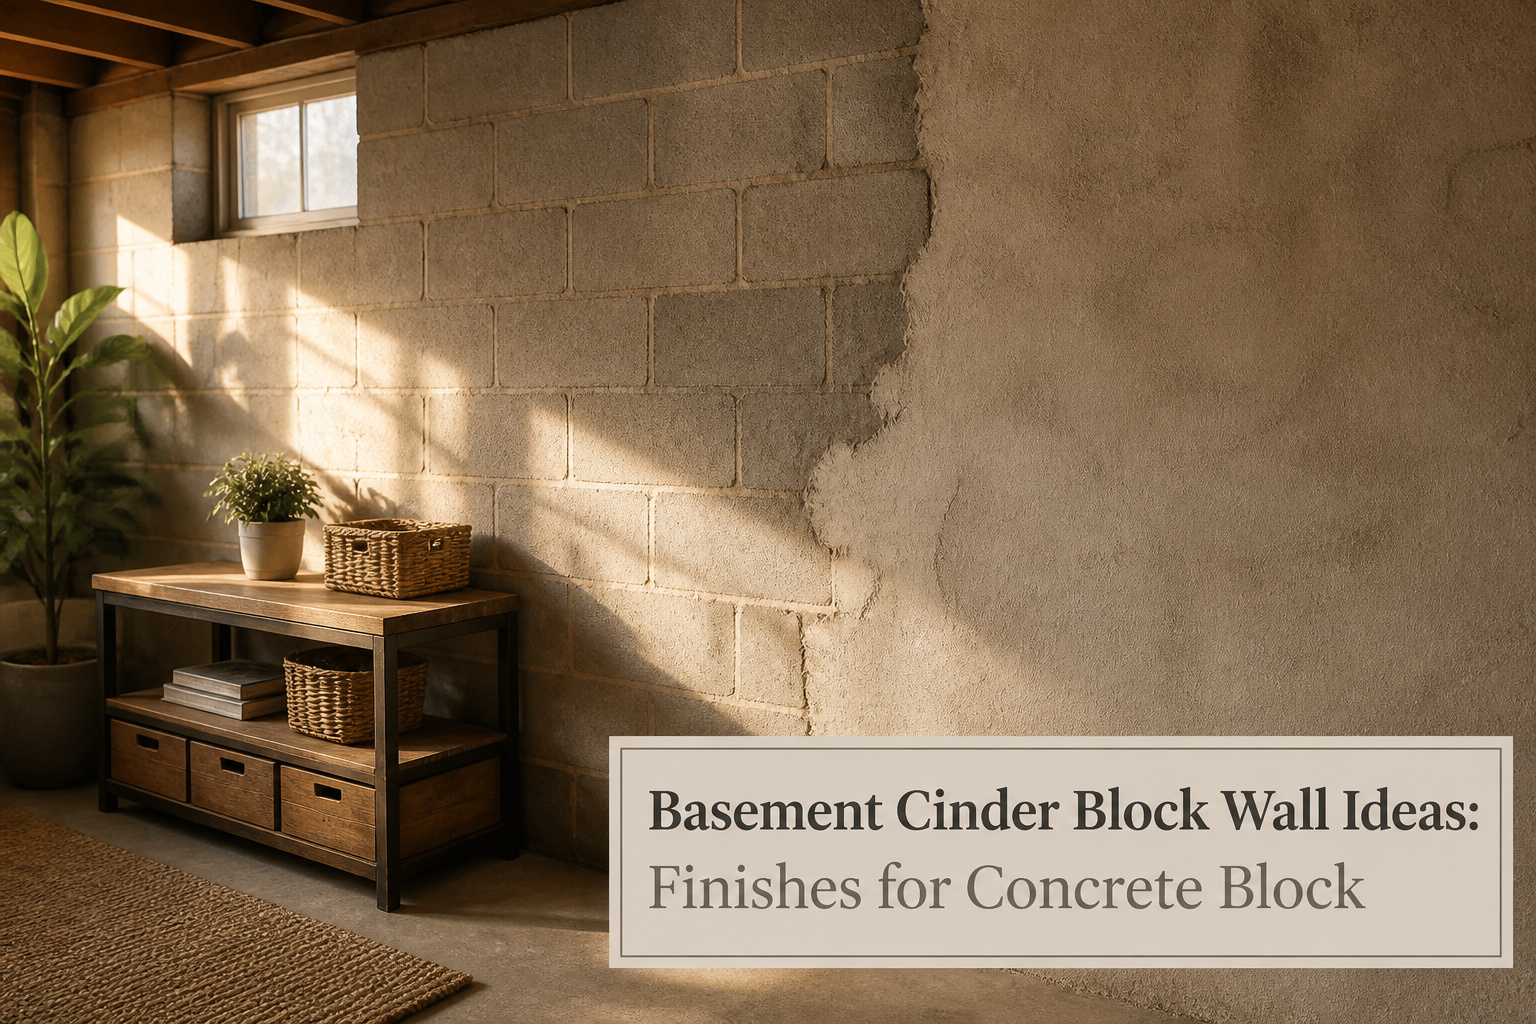
A finished basement cinder block wall is a concrete masonry surface that needs a covering to read as living space rather than storage. The catch is moisture: too little and stucco flakes off, too much and natural stone mortar lines fail from behind. Parging runs $1.50–$3.50 per square foot and takes a weekend, while faux stone panels hit $13.00–$30.00 for the same wall but need no specialized skills. The right choice depends on whether the basement is a permanent conversion or a project you might undo in five years.
Natural Stone Veneer

Natural stone veneer carries a weight no manufactured panel can fake. Real granite, limestone, or slate bonds directly to the block with mortar and grouting, and the texture shifts with every piece. An experienced mason lays each stone by hand, working bonding cement into the gaps so the wall reads as built, not applied.
Durability is where the material pays back its higher price. A properly installed natural stone surface lasts 50 years or more with minimal upkeep, outliving every synthetic alternative in the basement category. That longevity assumes dry conditions behind the stone. In humid climates, or anywhere the block weeps in summer, a moisture barrier belongs between the concrete and the veneer. Skipping that step traps vapor against the block, and the mortar line becomes the first thing to fail.
Cost runs significantly above artificial stone or cultured veneer, driven by the stone itself and the labor to fit it. For a basement project measured in hundreds rather than thousands, the math usually pushes toward manufactured options. Natural stone wins when the basement functions as finished living space you intend to keep for decades, or when the wall faces a garden walkout where the genuine appearance justifies the investment from the outside.
Recommended Products

No Drill Design: these 6 outdoor light hooks require no drilling, ideal for renters and homeowners; Easily adjust the hook to fit cinder block concrete wall between 3.2 to 6...
Brick Veneer

Brick veneer gives a basement the kind of timeless architectural style that usually requires tearing down walls and starting over. Instead, it layers thin slices of real brick or manufactured alternatives directly onto existing cinder block, delivering the texture and color variation of traditional masonry without any structural work.
The weight difference matters in a basement. Thin brick veneer is cut from genuine brick units, so the surface reads as authentic without the load of full brick. Manufactured brick veneer, typically cast from concrete and pigments, runs lighter and easier to handle during installation. For anyone working alone on a weekend, panelized brick systems that come mounted to modular backing can cut the time significantly while keeping the traditional appearance intact.
Durability sits somewhere between paint and full masonry. The finish holds up to basement humidity better than bare block, and the material itself resists the dings and scuffs that ruin softer wall treatments. The catch is the prep: the block surface needs to be clean and the adhesive application consistent, or the veneer will telegraph every bump underneath.
Recommended Products

Class 1 Vapor Barrier protects against moisture when installing vinyl, laminate, SPC and engineered wood flooring

For use with staple and nail down installations of solid and engineered wood floors

TRUE-TO-NATURE 3D REALISM: Crafted from premium high-density polyurethane (PU), our faux stone wall panels perfectly replicate the rugged texture, deep crevices, and color variations of natural stone. Unlike cheap foam or flat wallpapers, these 1.18-inch thick 3D artificial rock veneers fool the eye and touch, instantly upgrading your space with a high-end, realistic masonry aesthetic.
Climbing Plants

Living greenery against raw concrete gives a basement wall something no finish coat can: movement and color that shifts with the season. The catch is preparation. Sources split on whether to seal the block first; one route says a cement barrier keeps roots from working into the mortar joints, while growers with well-behaved vines report no damage after years of growth. A 5–10 year lifespan for the planting is typical before renewal or heavy cutback becomes necessary.
English Ivy and Clematis top the list for this job, and for different reasons. Ivy grips by aerial roots, stays evergreen in most zones, and handles the low light that basements often throw. Clematis wants more sun but rewards it with heavy bloom; its twining stems need wire or thin lattice since they do not cling to masonry on their own. Sweet peas and saucer vine also work if the wall gets decent light and you want annual color rather than a permanent installation. The real cost is not the plants, which run a few dollars each in nursery packs, but the time to train and shear them back so the wall reads as intentional, not abandoned.
Recommended Products

Real Stacked Stone Look: Hand-painted faux stone and rock texture with deep 1.38 in relief for natural shadows; lightweight PU stone veneer gives a true stone look without the weight

【Real Texture】Our faux stone wall panel are made from high-quality polyurethane (PU) material that mimics the look and texture of natural stone. Available in a variety of styles and colors, including stacked stone, castle stone, and limestone, this helps give your home a beautiful, warm, inviting, realistic look.
Faux Stone Panels

Faux stone panels run $13.00 to $30.00 per square foot, and most of that range is material cost rather than labor. The panels themselves come in river rock, field stone, ledge stone, and slate finishes, so the look you pick matters more than the install method. That is the real appeal here: the lower end of that price bracket gets you a textured, dimensional wall without the structural weight or the specialized masonry skills that natural stone demands.
What sold me, reading the install details, is how forgiving the seams are. You blend panels from different boxes to even out color variation, then run caulk or grout between them to fake mortar joints. A weekend is enough time to make mistakes, fix them, and still finish the wall. For someone who rents or is finishing their first basement on a tight budget and a tighter timeline, that low installation effort is the difference between a project that happens and one that stays on the list for another year.
Recommended Products

Size and Weight: Size of each brick is 2.4" x 7.9",and weight is about 0.5 lb. 40 piece thin brick cover about 7 sq.ft
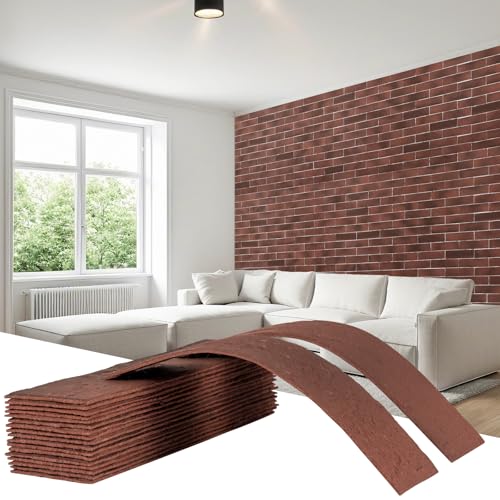
Product Parameters: Length: 8.5inch/21cm;Width: 2.3inch/6cm, Thickness: 0.12inch/0.3cm, Coverage area: 14 sq. ft.
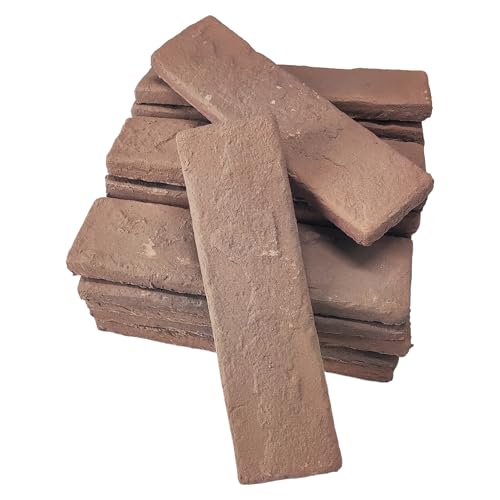
Size and Weight: Size of each brick is 2.4in x 7.9in ,and weight is about 0.5 lb. 20 piece thin brick cover about 3.5 sq.ft
Vinyl Siding

Vinyl siding runs about $3.30 to $6.70 per square foot and gives you the most style variety of anything in this price bracket. Wood grain, stone look, clean uniform panels, all in colors that hold up against fading and moisture. For a basement wall that sees some dampness, that weather resistance matters more than it would upstairs.
The catch is the install. Vinyl doesn’t fasten directly to cinder block. You need furring strips anchored into the mortar joints, and getting those strips level and solid across a whole basement wall takes patience. The labor pushes the total cost toward the higher end of that range, and a wavy or poorly anchored job shows immediately. If the wall is out of plumb, the siding telegraphs every bump.
Once it’s up, though, the maintenance is close to zero. No repainting, no resealing, just washing off dust. Expect fifteen to twenty years of service before color fade or brittleness starts to show. For a homeowner who wants the look of finished siding without the upkeep of wood, the tradeoff is the install weekend, not the decade after.
Recommended Products

【Skillful Quality Material】: Skillful quality polyurethane (PU), free from harmful substances like formaldehyde and VOCs
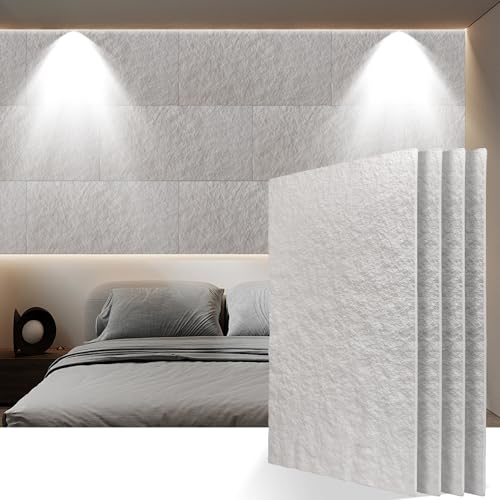
Premium PU Material: KASARO 3D Faux Stone Panels are made from high-quality PU, ensuring durability while being lightweight and easy to handle, perfect for various indoor art decor applications in your home or studio
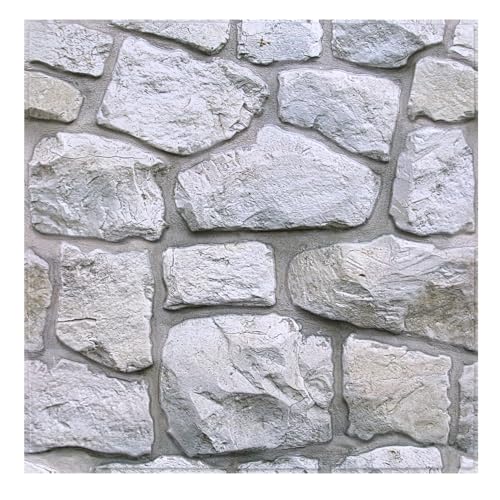
[3D Faux Stone Textures] Commomy 3D stone wall panels have a beautiful texture. Upgrade interior wall tile quickly and stylishly!
Stucco

Stucco sits somewhere between paint and full cladding: a cement-based finish of silica, lime, and concrete that goes on thick enough to bury the grid pattern of block but stays thin enough to keep the wall from reading as new construction. The finish can be smooth, dragged, or troweled to match whatever the rest of the basement is doing.
Three formulations cover most jobs. Traditional stucco, the cement-and-sand mix, carries a rougher, older look and takes paint afterward. Synthetic stucco, or EIFS, bonds to a foam board and weighs less while adding insulation value that matters in a below-grade space. Acrylic-based stucco trades some of that vintage texture for flexibility; it resists hairline cracking and comes pre-tinted in cleaner modern colors.
The real advantage down here is that flexibility in the face of minor wall movement. Basements shift seasonally with soil moisture and freeze-thaw cycles. A rigid coating cracks along the joints; stucco with acrylic or synthetic binders absorbs enough of that stress to keep the surface intact.
One condition matters: the block cannot be sealed before application. Stucco needs to draw some moisture from the substrate to bond properly. A waterproofing coat applied first will leave you with a layer that lets go in sheets.
Running $3.00–$4.00 per square foot, stucco sits in the middle of basement finish costs. It needs no furring strips or drywall, so the speed is part of the value. A weekend crew can float the first coat Saturday, scratch it, and finish Sunday if the humidity cooperates.
Parging

A thin coat of cement mortar, troweled over raw cinder block, is the cheapest way to take a basement wall from unfinished to paint-ready. At $1.50 to $3.50 per square foot, parging costs roughly half what most other coverings run, and the price gap widens if the wall is already in decent shape. The mix hides the worst of the block’s sins: small chips, mortar gaps, the slight bulge where one course sits a hair proud of the next. What it will not do is level a seriously out-of-plumb wall or bridge active cracks; those want repair first, with a sealant filler, before any cement goes on.
The finish is smooth enough to paint once cured, though the surface benefits from a concrete primer first. Some homeowners tint the wet mix with pigment instead, or throw in pebbles for texture, but plain white or gray parge with a roller afterward is the usual path in a budget basement. A waterproofing layer can go over the top if moisture is a concern, adding another step but not another full coating system.
The tradeoff is durability. Parging can flake where water pushes through from behind, and it shows every bump if the trowel work was rushed. For a basement that needs to look clean rather than luxurious, though, the math is hard to beat.
Recommended Products

Mold size - 8" X 4 1/2" X 1 1/2" (20cm X 12cm X 4cm) approximate

Superior Vapor Barrier: Provides excellent moisture resistance. Features a 2.4 mil thick barrier for unmatched moisture protection—the thickest and strongest in its class.

For use as a vapor barrier when installing Vinyl, laminate, SPC and engineered wood flooring
Paint and Plaster Techniques

A layered paint-and-plaster finish is the most hands-on of the basement cinder block wall ideas, and the one that leaves the least factory-perfect surface behind. The goal is not to hide the block but to build a weathered, dimensional skin over it: something closer to old European plaster than to dry-wall smoothness.
The process works in stages. One approach starts with PlasterTex, a pre-mixed compound with the consistency of cake batter, tinted before application by folding in about half a cup of beige paint per half gallon of plaster. The tinted plaster goes on in thin, swooping layers with a trowel, skimmed rather than caked so the underlying colors stay partially exposed. That exposed color is what creates the depth; stepping back every few minutes lets you judge how much to leave showing.
After the plaster sets, a final rolled layer locks the tone. Valspar’s Carbonized, an off-black, has been used for this last pass, rolled with minimal paint on the roller so the texture catches the color unevenly. Brush application tends to fight the effect; the roller follows the highs and lows of the plaster and the block beneath it. What results is a wall with depth that shifts as you move, not a single flat color but a muted mirage that reads as exposed brick at a distance.
This is slow work. It rewards experimentation and punishes rushing, and the finished wall carries the irregularities you chose to leave in it.
Surface Preparation

Cinder block walls collect years of dust, efflorescence, and spiderwebs before anyone thinks to finish them. The wall has to be bone-dry and clean enough to run your hand across without grit before any adhesive, paint, or panel will stick.
- Brush the entire surface with a stiff-bristle broom or wire brush to knock loose mortar, dirt, and debris. Vacuum or sweep the floor as you go so dust doesn’t resettle.
- Wash with a concrete-safe cleaner and rinse thoroughly. Let the wall dry completely; trapping moisture behind a finish guarantees failure.
- Inspect every joint and block face for cracks or holes. Fill them with a quality sealant rated for masonry so the surface reads flat, not cratered.
- Test a small area with your chosen adhesive or primer. If it skins over or beads, the wall needs more cleaning or another day to dry.
Skipping any of these steps is the mistake that shows up six months later when panels peel or paint flakes in sheets.
Recommended Products
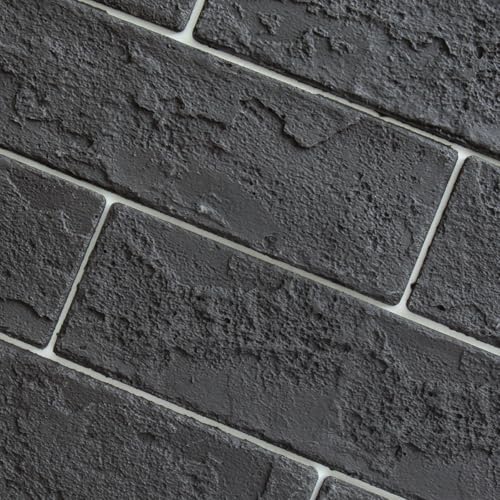
One box contains 100 cost-effective thin brick veneers, covers 14.2 sq. ft. Each piece is 2.36-in width x 8.66-in length x 0.15-in thick. Want to take a closer look at these tiles before placing a full order?Order a sample brick! Samples come full size and they're a great way to get a feel for a tile's size, color and texture. You can even see how it looks on the wall in your chosen space.

One box contains 100 cost-effective thin brick veneers, covers 14.2 sq. ft. Each piece is 2.36-in width x 8.66-in length x 0.15-in thick. Want to take a closer look at these tiles before placing a full order?Order a sample brick! Samples come full size and they're a great way to get a feel for a tile's size, color and texture. You can even see how it looks on the wall in your chosen space.

One box contains 100 cost-effective thin brick veneers, covers 14.2 sq. ft. Each piece is 2.36-in width x 8.66-in length x 0.15-in thick. Want to take a closer look at these tiles before placing a full order?Order a sample brick! Samples come full size and they're a great way to get a feel for a tile's size, color and texture. You can even see how it looks on the wall in your chosen space.
Cost Comparison

Parging sits at the bottom of this list at $1.50–$3.50 per square foot, which makes it the obvious pick when the goal is simply to stop the wall from looking like a basement. Stucco doubles that to $3.00–$4.00, and vinyl siding pushes slightly higher to $3.30–$6.70 once you account for the furring strips the block joints demand. Faux stone panels jump the line entirely at $13.00–$30.00.
| Finish | Cost per sq ft | Longevity | Best for |
|---|---|---|---|
| Parging | $1.50–$3.50 | n/a | Tightest budget, quickest refresh |
| Stucco | $3.00–$4.00 | 10–20 years | Mid-range, traditional look |
| Vinyl siding | $3.30–$6.70 | 15–20 years | Matching exterior structures |
| Faux stone panels | $13.00–$30.00 | 10–15 years | Visual impact, shorter timeline |
Natural stone outlasts everything at 50+ years, but the sources do not price it here. Climbing plants run 5–10 years, which matters less than the labor of maintaining them in low light. For a weekend project under a few hundred dollars, parging or stucco covers the most wall. Faux stone belongs to the category where you have already decided the wall is a feature, not a problem to hide.
Recommended Products

【Skillful Quality Material】: Skillful quality polyurethane (PU), free from harmful substances like formaldehyde and VOCs

【Real Texture】Our faux stone wall panel are made from high-quality polyurethane (PU) material that mimics the look and texture of natural stone. Available in a variety of styles and colors, including stacked stone, castle stone, and limestone, this helps give your home a beautiful, warm, inviting, realistic look.
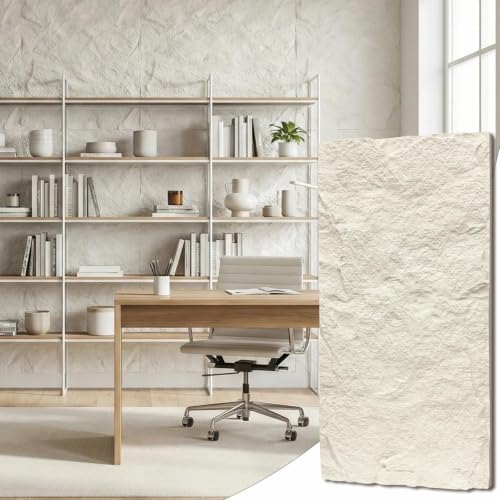
Immersive 3D Depth & Realistic Texture: Instantly elevate your interiors with our cement texture design wall panels. The high-definition, cement-like texture creates dramatic dimensional relief, transforming living rooms, bedrooms, or offices into captivating spaces with profound modern character and artistic flair.
Durability and Maintenance

Basement conditions punish finishes in ways the rest of the house does not. Moisture cycles, temperature swings, and the occasional seepage event separate coverings that survive from ones that merely look good on day one.
Natural stone and exterior brick veneer both carry 50-plus-year lifespans, but that number assumes exterior-grade installation with proper drainage. Bring them inside a basement and the equation shifts: without the sun and airflow that dry exterior walls, trapped moisture becomes the variable that shortens everything. Stone and brick still outlast the alternatives, yet they demand vigilance at the joints and weep holes that interior applications rarely include.
Vinyl siding advertises 15–20 years outside and low resistance to fading and weathering. Inside a basement, it avoids the UV hit but faces humidity instead. The maintenance burden stays light, mostly wipe-downs and checks for mold behind the panels, which makes it the practical choice for owners who want to forget the walls exist.
Stucco lands at 10–20 years with minimal cleaning, though the sources note it needs some moisture to bond to block. That requirement creates tension in a basement, where too much moisture means trouble and too little means failure. A middle-ground installation, with controlled dampness at application and ongoing monitoring after, is the judgment call here.
Faux stone, murals, and climbing plants cluster at 5–10 or 10–15 years. The shorter spans are not defects; they are the trade for lower upfront cost and easier reversibility. Renters and first-home owners mid-project often prefer that math: a weekend’s work, a few hundred dollars, and the freedom to change course when life shifts.
Frequently Asked Questions
What are the best ways to cover cinder block walls?
Natural stone veneer, brick veneer, faux stone panels, vinyl siding, stucco, parging, climbing plants, and layered paint-and-plaster techniques all work, depending on your budget and how finished the space needs to look. Stone and brick last 50 years or more but cost the most. Faux stone and vinyl sit in the middle for both price and longevity. Parging runs $1.50–$3.50 per square foot and takes a wall from raw to paint-ready for the least money.
How do I prepare cinder block walls for covering?
Brush the wall with a stiff-bristle broom or wire brush to knock off loose mortar and debris, then wash with a concrete-safe cleaner and rinse thoroughly. Let the wall dry completely before doing anything else, since trapped moisture behind a finish guarantees failure. Fill cracks and holes with a masonry-rated sealant, then test a small patch with your adhesive or primer to confirm it bonds before committing to the whole wall.
What is the cost to cover cinder block walls?
Parging costs $1.50–$3.50 per square foot, stucco runs $3.00–$4.00, and vinyl siding lands at $3.30–$6.70 once furring strips are factored in. Faux stone panels jump to $13.00–$30.00 per square foot. Natural stone and brick veneer carry the highest material and labor costs but can last 50 years or more with proper installation.