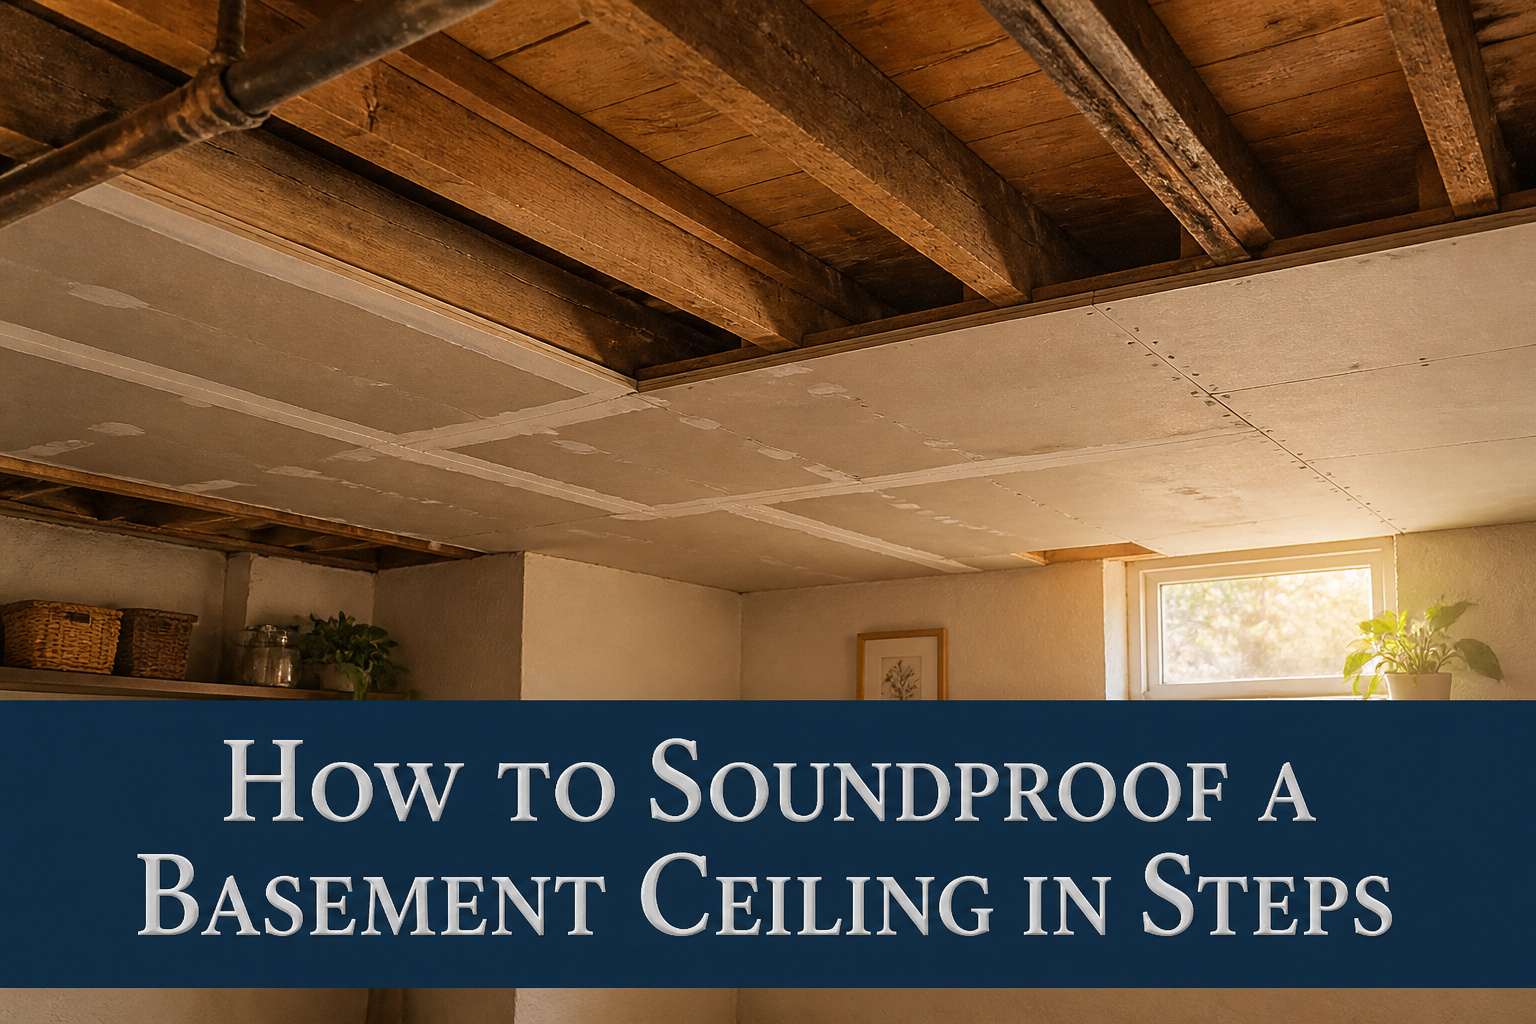
A finished, soundproofed basement ceiling runs about $3 to $4 per square foot if you stack mass-loaded vinyl with double drywall and Green Glue, plus a weekend of work per stage. Most people get the assembly order wrong and decouple before they seal, which wastes every layer that follows. The caulk has to go first; acoustic caulk stays flexible after curing, and standard silicone hardens into new cracks within a year.
1. Seal Gaps and Cracks

Sound slips through gaps the way water does, and even a hairline crack in a basement ceiling can undo every layer you add after it. That is why sealing comes first. Most builders and acoustical guides treat this step as non-negotiable, and after reading enough of them, I am convinced they are right.
Acoustic caulk is the material for this job. It goes on like standard silicone, but it stays flexible after it cures and blocks sound far more efficiently. A tube or two handles the small gaps and cracks you will find between joists, around ductwork, and where the ceiling meets the walls. If you run into anything larger, something structural is off and a pro needs to look at it.
The cost stays low: a few tubes and an afternoon of work runs under a hundred dollars if you do it yourself. Do not stop at the ceiling. The same gaps around basement windows and doors let airborne noise through just as easily, and sealing them finishes the barrier you are building.
Recommended Products
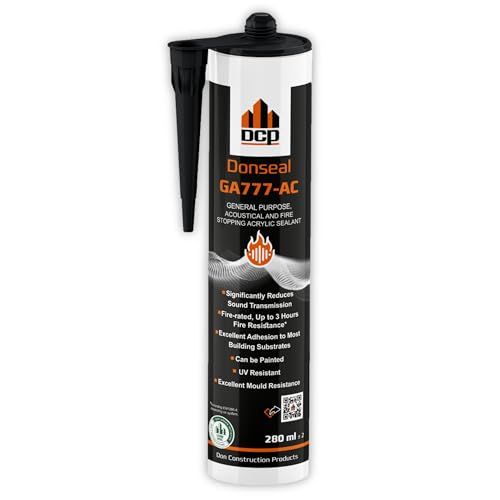
Quieter Living Spaces - This acoustical sealant blocks noise transfer up to 49 dB, making it the perfect acoustic caulk for soundproofing walls, ceilings, and partitions.

High-Efficiency Sound Insulation: This WANJAO acoustic sealant is specifically designed to reduce sound transmission. By filling gaps, it effectively blocks sound from propagating through walls, wall panels, and door seams, significantly outperforming ordinary sealants.

Quieter Living Spaces - This acoustical sealant blocks noise transfer up to 49 dB, making it the perfect acoustic caulk for soundproofing walls, ceilings, and partitions.
2. Add Insulation Between Joists

The joist cavities in most basement ceilings sit empty, since there is usually no thermal reason to fill them. That empty space becomes a channel for sound, so filling it with insulation is the first real absorption step once gaps are sealed. Mineral wool and fiberglass are the two materials that come up most often for this job, and mineral wool edges ahead slightly in recommendations. Either one works by trapping sound waves inside the cavity before they transmit through the structure. What matters most is that the insulation actually fills the cavity fully, not just sits loosely at the bottom. A complete fill creates the density needed for absorption and adds the side benefit of some thermal buffering, which can matter in a basement even when temperature control was not the original goal.
Recommended Products

100 PACK INSULATION SUPPORT WIRE - Each box contains 100 premium carbon steel wire supports for 16 inch on-center joist spacing. Secure batt and blanket insulation in attics, basements, and crawl spaces

6lb/ft^3 Rockwool ProRox SL960 Mineral Wool - 10 sheets of strong, rigid stone wool insulation

6lb/ft^3 Rockwool ProRox SL960 Mineral Wool - 3 sheets of strong, rigid stone wool insulation
3. Install Resilient Channels

Galvanized steel resilient channels are what make decoupling work in a basement ceiling. Decoupling means breaking the direct path vibrations travel through solid materials. Without it, every footstep upstairs rattles straight down the joists and into your drywall like a tuning fork. The channel screws to the joist, then the drywall screws to the channel, and that slight gap between framing and finish layer is what interrupts the chain.
Resilient channels keep a low profile, so you do not lose much headroom. That matters in basements where ceilings already sit at seven feet or less. Sound isolation clips with hat channel are another decoupling option, but the clips are the heavier-duty choice for spaces with constant foot traffic upstairs. For most weekend projects, standard resilient channels handle the job without the extra hardware cost.
Recommended Products

Package Included: You will receive 200 pieces of 16 inch insulation support wire, the carbon steel wire diameter of 0.08 inches/ 2 mm, sufficient quantity to satisfy your various purposes and replacement needs

What You Will Get: The package contains 200 pcs 16 inch insulation support wire with 0.08 inch/2 mm wire diameter, you will get enough cost-effective, the quantity is enough to meet your use and replacement needs, saving you time and money to buy again.

Package include:You will receive 50pcs 16 inch insulated brackets,with a diameter of 0.08 inches.Enough to meet your various uses and replacement needs
4. Add Sound Isolation Clips
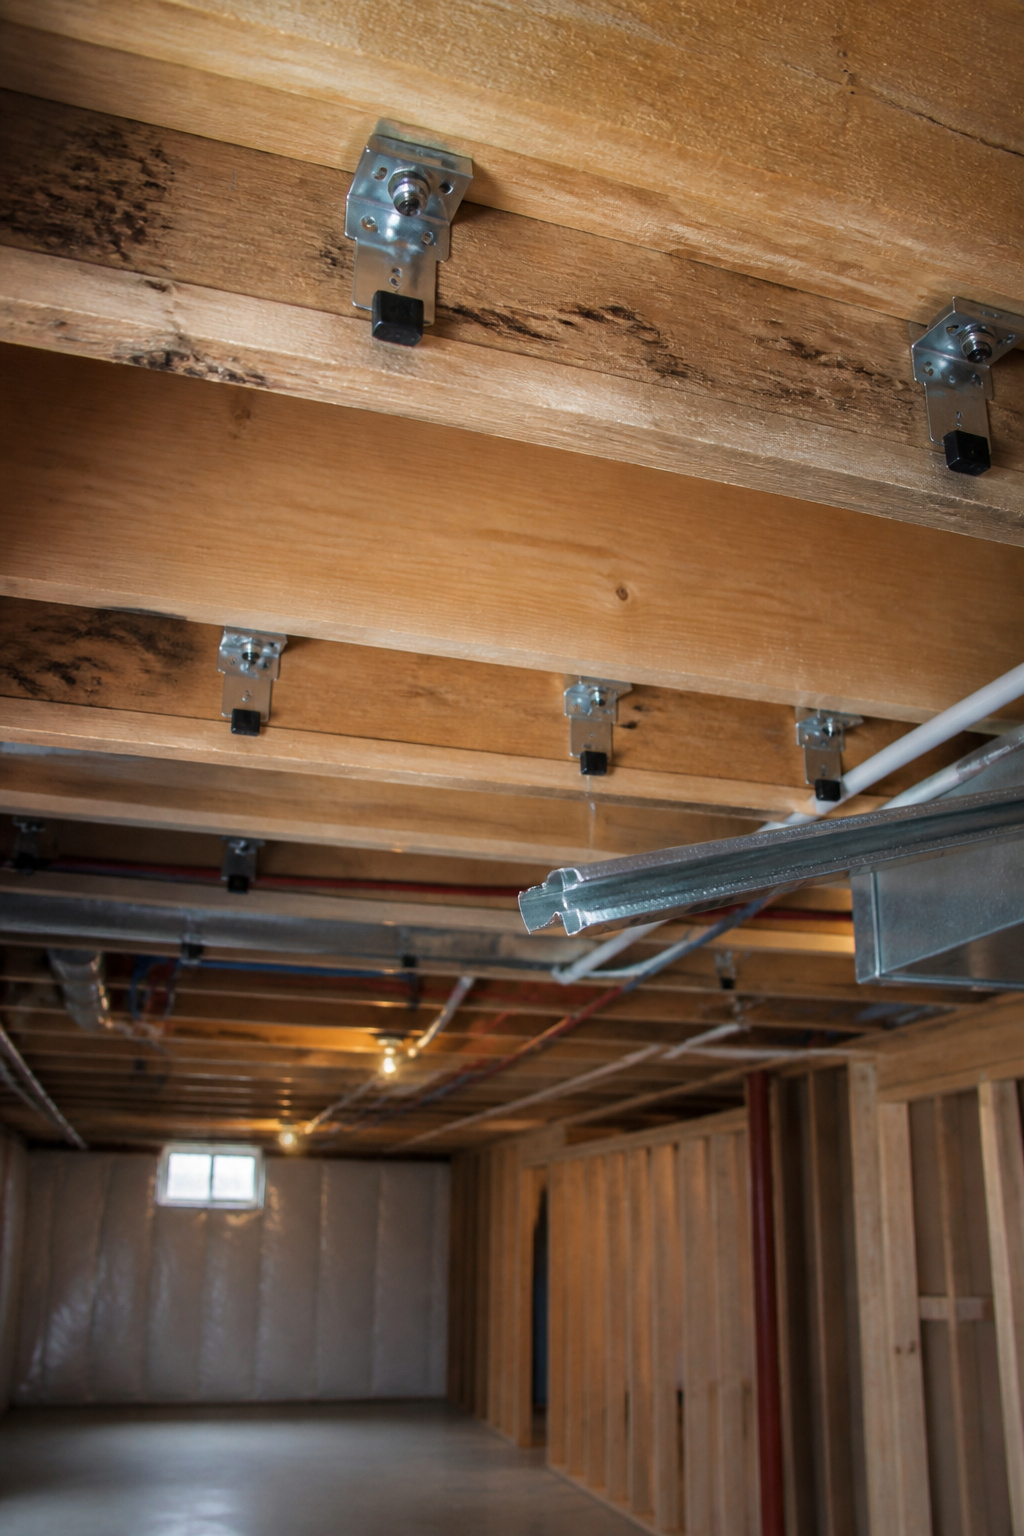
Resilient channels work fine for basic decoupling, but sound isolation clips with hat channel take the ceiling further from the joists and block more vibration from footsteps or dropped objects upstairs. The clips mount directly to the joists, the hat channel snaps into them, and the drywall hangs from the channel instead of touching wood. That extra air gap is what eats the energy before it becomes noise in the room below.
You will need hat channel cut to span the ceiling perpendicular to the joists, spaced 16 inches on center, plus a clip at every point where channel crosses a joist. The clips cost more than bare resilient channel and the install takes longer because you are fastening twice, once for clips and once for channel. For exposed ceilings where impact noise is the real problem, this is the path I would pick over channel alone; for airborne noise only, channel probably gets you close enough without the added expense.
Recommended Products

One Legged Resilient Channel - 25 Gauge (18 Mils)

20 Hat Channels per bundle - Length 8.6' (102'')

Includes 20 Resiliant Hat Channels per bundle - Length 8.6' (102'')
5. Roll Out Mass-Loaded Vinyl

Mass-loaded vinyl is the first upgrade that actually adds weight to your ceiling assembly without asking the joists to handle another rigid sheet. I unrolled it directly over the existing drywall in our basement utility room, tacking it every foot or so with roofing nails and a washer. The material is dense, about a pound per square foot depending on the grade, and it hangs limp like a heavy rubber blanket. That flexibility matters: it blocks airborne sound without creating the drum effect you get from rigid layers vibrating against each other.
For exposed joists, the same roll goes across the bays and gets tacked to the bottom of each joist. Either way, the vinyl works best as a middle layer, not a finish surface. One source suggests pairing it with an additional drywall layer above, which is where I would have gone next if the joists in that 1950s house had had any spare capacity left. Drywall adds serious mass, but it also adds serious weight, and sagging or worse is not the kind of discovery you want after a weekend project.
Budget for the full assembly runs $3 to $4 per square foot when you combine the MLV with drywall and fasteners. On its own, the vinyl is the expensive part; the labor is just patience and a staple gun. I skipped the drywall layer in that house because the joists were already showing stress cracks from previous owners’ work. The vinyl alone cut the footfall noise from the kitchen above by enough that we stopped flinching every time someone dropped a spoon. Not silence, but livable. That is the honest trade for skipping the full stack.
Recommended Products

[Heavy-Duty Aluminum Construction]: Double track curtain ceiling mount made from high-grade aluminum alloy, this double curtain track resists bending, warping, and daily wear. Designed to support heavy blackout curtains, velvet drapes, or layered window treatments without sagging. A true heavy duty curtain track choice for long-term use.

[Heavy-Duty Aluminum Construction]: Double track curtain ceiling mount made from high-grade aluminum alloy, this double curtain track resists bending, warping, and daily wear. Designed to support heavy blackout curtains, velvet drapes, or layered window treatments without sagging. A true heavy duty curtain track choice for long-term use.
[Heavy-Duty Aluminum Construction]: Double track curtain ceiling mount made from high-grade aluminum alloy, this double curtain track resists bending, warping, and daily wear. Designed to support heavy blackout curtains, velvet drapes, or layered window treatments without sagging. A true heavy duty curtain track choice for long-term use.
6. Add Layers of Drywall

Two sheets of 5/8-inch fire-code drywall give the ceiling the mass it needs to block sound, and the density of that fire-rated board matters more than standard half-inch stock. I spent time comparing builds before settling on what the details actually reward.
Green Glue between those two layers is what turns vibration into heat. The compound stays flexible after it cures, so when sound energy hits the sandwich, the shear movement between boards converts that energy rather than passing it through. Damping works by friction inside the material, not by adding weight alone.
Spread the Green Glue in a random bead pattern across the full first layer before setting the second sheet on top. Offset the seams so they do not line up with the layer beneath; staggered joints break the direct path sound would otherwise travel. One layer of drywall helps some, but the damping compound between two layers is what makes the assembly actually perform.
Recommended Products

Superior Sound Insulation: This acoustical sealant is specially designed to effectively block airborne noise from passing through structural gaps, filling small cracks in walls, ceilings, floors, door and window frames, etc.
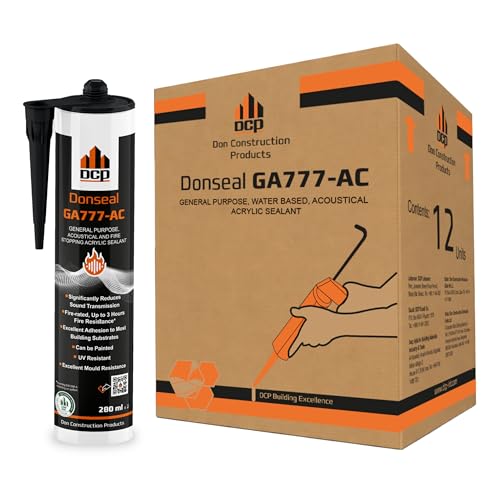
Quieter Living Spaces - This acoustical sealant blocks noise transfer up to 49 dB, making it the perfect acoustic caulk for soundproofing walls, ceilings, and partitions.

SOUND, DRAFT and SMOKE SEALANT - TMS Acoustical Caulk provides impressive soundproofing, significantly reducing noise transmission through walls, ceilings, and floors.
7. Install Acoustic Panels

Acoustic panels sit on the finished side of the ceiling and absorb sound waves before they can bounce back into the room, which cuts down echo and reverberation rather than blocking noise from upstairs. If you already put in the work below the drywall, this step is optional icing, and only three of the guides I read even brought it up.
Stick-on fabric-wrapped foam or fiberglass panels are lightweight enough to handle solo, and they peel off clean if you are renting or change your mind. For a drop ceiling, tile covers that sandwich mass-loaded vinyl between fiberglass layers drop right on top of existing tiles from above, no adhesive needed.
Panels improve how the room itself sounds, so they matter more for a theater or music space than for simply sleeping through foot traffic overhead. If the budget is tight after resilient channels and drywall, this is where I would pause and add it later.
Recommended Products

6lb/ft^3 Rockwool ProRox SL960 Mineral Wool - 10 sheets of strong, rigid stone wool insulation

Cost-effective Bundle: get 300 pieces of 24-inch (0.08”/2 mm) insulation support wires in one pack—perfect for long-term use and replacements, saving you time and money on frequent repurchases

Designed for Sound Absorption Echo Control: the dense, porous stone wool structure helps absorb sound energy and reduce unwanted reflections, echo, and reverberation; Ideal for improving room acoustics and creating a cleaner, more controlled listening and recording environment; Sound absorption performance varies by thickness, installation method, and frequency
Airborne Noise vs. Impact Noise

The noise coming through your basement ceiling isn’t all one thing, and the fix that works for voices won’t stop footsteps. Airborne noise, voices, music, and TV travel as pressure waves through open air and any gaps in the structure. Impact noise, footsteps, dropped objects, and furniture dragging, transmits as vibration straight through joists and drywall.
Ceiling soundproofing handles airborne noise better than impact noise. Impact energy already entered the building structure; once it has, blocking it from below is an uphill fight. The materials that work best differ for each type, and most basement projects need to address both.
| Noise Type | What It Is | Best Countermeasures |
|---|---|---|
| Airborne | Voices, music, TV | Mass, absorption, sealing gaps |
| Impact | Footsteps, dropped items | Decoupling, damping, floor-side treatment |
If footsteps are your main complaint, treating the floor above, carpet pads, underlayment with a high delta IIC rating, does more than anything you can bolt to the basement ceiling. For voices and music, mass-loaded vinyl and extra drywall layers win. Most basements get both, so the smart plan tackles airborne from below and negotiates anything floor-side that the upstairs neighbor or your own budget will allow.
Recommended Products
24" Insulation Supports: Designed for securing batt and roll insulation, these wire insulation support provide a strong, long-lasting hold between joists; preventing sagging and improving overall insulation performance

What You Will Get: The package contains 200 pcs 24 inch insulation support wire with 0.08 inch/2 mm wire diameter, you will get enough cost-effective, the quantity is enough to meet your use and replacement needs, saving you time and money to buy again.

Thermwell #SP55 12"x15' Fiberglass Insulation
What the Materials Actually Do

Soundproofing a basement ceiling works through six distinct jobs, and the materials are built for one each. Matching the right material to the job saves money and actually works.
- Acoustic caulk seals. It stays flexible after drying, so gaps around pipes, light fixtures, and the perimeter of the ceiling do not reopen as the house shifts. Standard caulk hardens and cracks; acoustic caulk does not.
- Mineral wool and fiberglass insulation absorb. Either one fills the empty joist cavities and soaks up airborne sound before it travels through. Dense mineral wool performs slightly better, but fiberglass is easier to find and handle.
- Resilient sound isolation clips decouple. They suspend the ceiling drywall from the joists so vibration from footsteps upstairs does not pass straight through. This is the fix for impact noise, not airborne noise.
- Mass-loaded vinyl blocks by adding dense mass without bulk. A one-pound-per-square-foot layer hung in the assembly stops sound transfer the way a thick door does.
- Green Glue dampens. Spread between two layers of drywall, it turns vibration energy into heat and keeps it from passing through. It lets you add damping without tearing the whole ceiling apart.
- Acoustic panels absorb echo inside the room itself. They treat how sound behaves once it is already in the basement, not what comes through from above.
Recommended Products
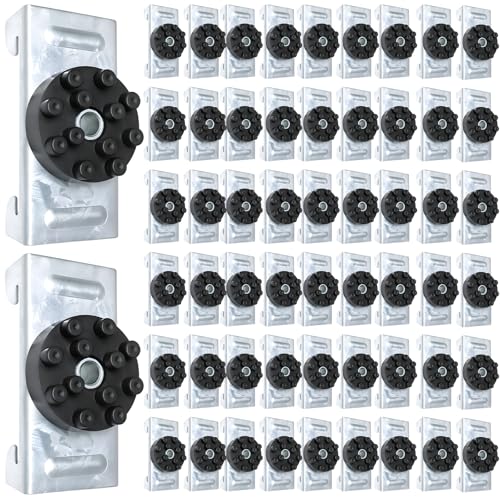
【Effective Sound Isolation & Decoupling】Designed to separate drywall from wall studs or ceiling joists, these clips create a physical break in the sound path. By decoupling the structure, they help improve STC and IIC ratings for walls and ceilings, significantly minimizing noise transfer for a quieter and more private indoor environment.
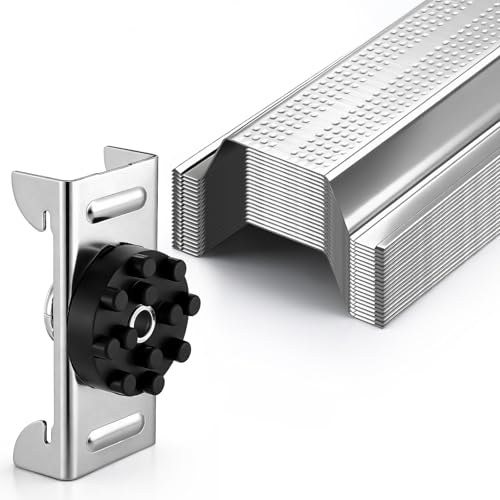
Package Contents: you will receive 20 metal hat channel and 50 soundproofing clips; The enough quantity and ease of installation are sufficient to meet your soundproofing needs
【Effective Sound Isolation & Decoupling】Designed to separate drywall from wall studs or ceiling joists, these clips create a physical break in the sound path. By decoupling the structure, they help improve STC and IIC ratings for walls and ceilings, significantly minimizing noise transfer for a quieter and more private indoor environment.
Where I Cut Corners and Where I Do Not

The first corner I cut is always labor. Hanging resilient channels yourself saves a few hundred dollars, and the low-profile design means you are not sacrificing ceiling height you already do not have. Wrapping pipes and ductwork with soundproofing material is another weekend task most homeowners manage without calling anyone.
Where I do not cut corners is the product itself. Cheap materials turn a soundproofing project into a trial-and-error cycle that costs more than doing it right once. Retailers who specialize in professional-grade products know which combinations actually work for basement ceilings, and their support keeps you from guessing.
The middle ground is inline silencers for ductwork. Installing them involves cutting into your HVAC system, which is where I stopped and brought in a technician. The silencer handles noise from the furnace and air handler, but the physical installation is not a first-timer job.
Budget for the materials you cannot downgrade, and borrow time on the labor you can.
Recommended Products
[Heavy-Duty Aluminum Construction]: Double track curtain ceiling mount made from high-grade aluminum alloy, this double curtain track resists bending, warping, and daily...
Mineral Wool or Fiberglass

Joist cavities are usually empty in basements, since temperature control rarely reaches them. For soundproofing, filling them with insulation is the first real move, and the choice comes down to mineral wool or fiberglass.
| Attribute | Mineral Wool | Fiberglass |
|---|---|---|
| Density | Higher, heavier material | Lighter, less mass |
| Fire resistance | Non-combustible, melts at high heat | Resists heat but can melt |
| Handling | Rigid, holds shape between joists | Flexible, needs support to stay put |
| Cost | n/a | n/a |
| Sound absorption | Absorbs sound waves in cavity | Absorbs sound waves in cavity |
Both materials work by catching sound in the cavity rather than blocking it through mass. Mineral wool’s extra density gives it a slight edge for airborne noise, and its rigidity means less sagging over time. Fiberglass is easier to find at any box store and simpler to compress around wiring or ducts. Either beats an empty joist bay. If the budget allows, layer mass-loaded vinyl beneath the insulation for real blocking power, not just absorption.
Frequently Asked Questions
What materials are best for soundproofing a basement ceiling?
Acoustic caulk, mineral wool or fiberglass insulation, resilient channels or sound isolation clips, mass-loaded vinyl, Green Glue, and acoustic panels each handle a different job. The best results come from combining them; sealing gaps first, then adding insulation for absorption, decoupling with channels or clips, and finishing with mass and damping. No single material does everything.
How do I seal gaps in my basement ceiling?
Run acoustic caulk along every crack and gap between joists, around ductwork, and where the ceiling meets the walls. Unlike standard caulk, acoustic caulk stays flexible after curing so it does not crack open again as the house shifts. A few tubes and an afternoon of work runs under a hundred dollars.
What is the difference between airborne and impact noise?
Airborne noise, voices, music, and TV, travels as pressure waves through open air and any gaps in the structure. Impact noise, footsteps, dropped objects, and furniture dragging, transmits as vibration straight through joists and drywall. The fix that works for one type will not stop the other; airborne noise needs mass and sealing, while impact noise needs decoupling and damping.